How to Install Slime Tube Sealant in a Bicycle
August 28th, 2020

There are many, many ways that a bicycle tyre can go flat. Thorns, glass, nails … bike rides are literally littered with hazards for your thin bike tyres. Fortunately, Slime tube sealant can prevent and repair flat bicycle tyres instantly for up to two years.
Installing Slime Tube Sealant into your bicycle tyres is simple and fast. Follow these step-by-step photo instructions for a future of no more flats!
Step 1: Position the tyre
Slime can be inserted with the valve stem located in any position, but it works best if you position the valve stem so it sits in the upper half of the tire.

Step 2: Remove the valve core
The black cap on your bottle of Slime is a valve core removal tool. Twist it off the bottle and use the knobby tool in the center to engage the valve core.
If you have Schrader valves: Take the valve cap off your valve stem. When you look inside the top of the tyre valve stem, you will see a metal cylinder in the very center. This is the valve core and it needs to be removed in order to install Slime. Slowly twist the tool anti-clockwise to remove your valve core.

If you have Presta valves: Using your fingers, gently twist the knobby ball near the top of your valve core to remove it. CAUTION: Not all tubes have removable valve cores. If your valve cores are fixed (they won’t twist off), then you will not be able to install Slime (we recommend our pre-filled, self-sealing Slime tubes instead).

You will know you are successfully removing the valve core when air starts hissing out of your tyre.
Step 3: Deflate Your Tire
Your tyre must be as flat as possible to inject the Slime. Allow the air to slowly escape from the tyre and set aside the valve core (you will need this piece again later).
Step 4: Remove the Puncturing Object
Locate the thorn, nail or other offending object that caused your tire to go flat. If possible, remove it from the tire.

Step 5: Inject Slime
Unscrew the white cap from the top of the bottle, peel off the white seal and then re-attach the white cap.
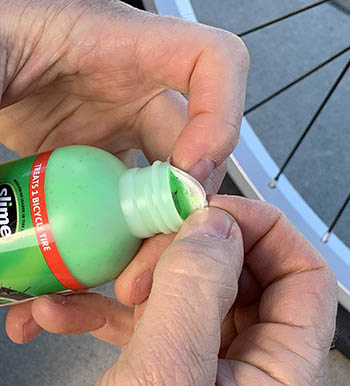

Remove the clear tube from side of the bottle and attach one side to the top of the white bottle cap. Attach the other side to the valve stem on your tyre. The white tube fits perfectly over Schrader valves. If you have Presta valves, we recommend you attach a Presta valve adapter to the white tube for a tighter fit.

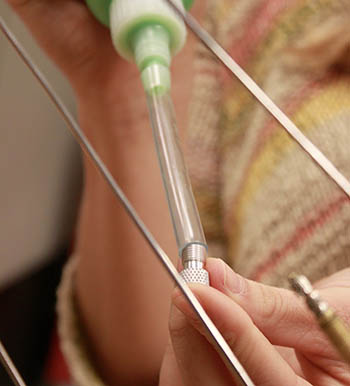
Squeeze in the appropriate amount of Slime. You can use the chart on the back of your bottle to determine how much Slime you need, or you can use our Slime calculator. In general, bike tires need 118 ml of sealant each. If you are using the gallon product of Slime, then one pump equals approximately 28 ml of Slime so you will need approx 4 pumps.
When it comes to bicycles, you can inject the sealant directly into the tube before inserting the tube into the wheel, or you can inject the sealant into a tube that is already pre-installed into the wheel.

Step 6: Reinstall the Valve Core
Remember that little valve core you removed in Step 2? Time to put it back in! Using the same black tool from the cap of the bottle (or your fingers if you have Presta valves), screw the valve core back into the valve stem by turning clockwise until tight. If any Slime has oozed out while installing the valve core, simply wipe away with a cloth.
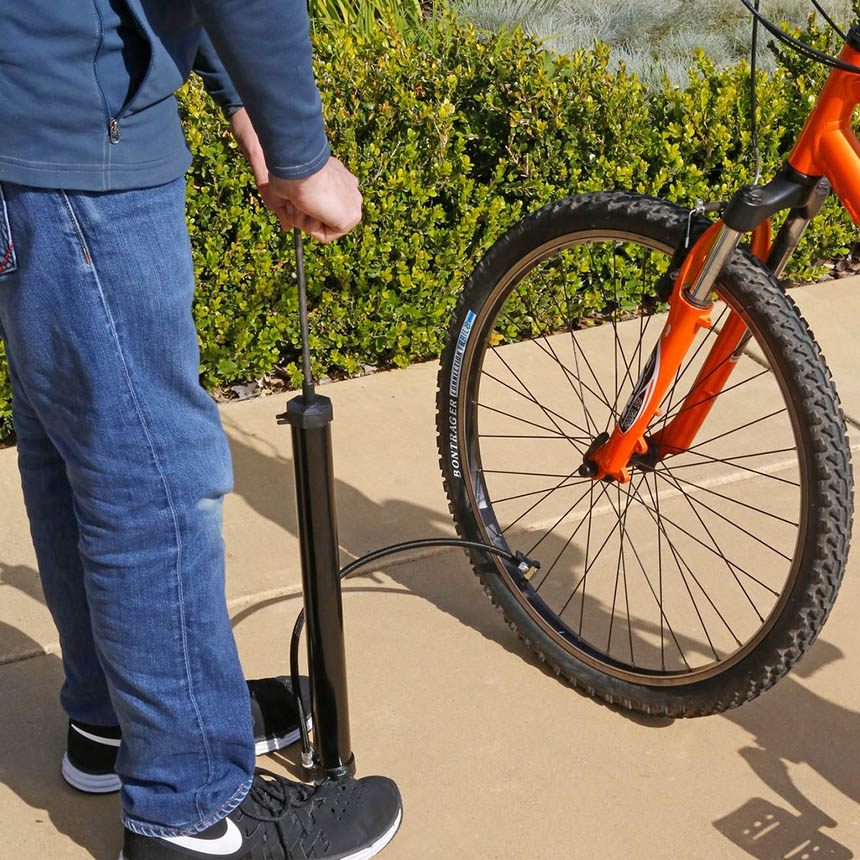
Step 7: Add Air
Using your favourite tyre inflator, air up the tyre to the recommended air pressure. You can find this measurement range listed on the sidewall of your bicycle tyre.
Step 8: Rotate the Tire
To properly spread the sealant around the inside of your tyre, spin the tyre quickly a few times.
Congratulations! You have successfully installed Slime and repaired your flat tyre!
Not interested in installing Slime sealant yourself? Or stuck with fixed Presta valve cores? Don’t worry, you can still prevent flats for two years! Simply install Slime pre-filled tubes (extra-strong because there is Slime inside!).